Login
Access the WordPress Admin panel https://YOURDOMAIN/wp-admin
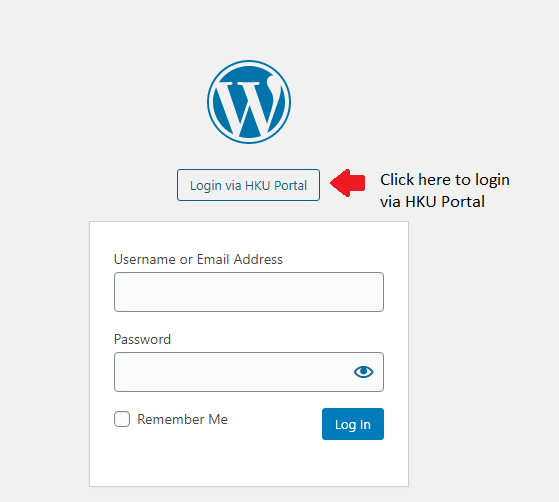
Then, you can use your HKU Portal UID and PIN to login the WordPress
Once you login WordPress, you can follow the 8 steps as below to edit and publish your website:
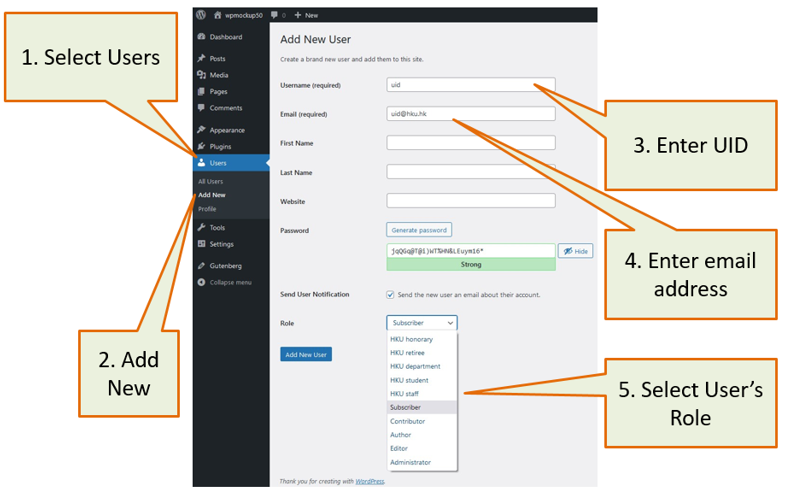
Add new users
You can add user to manage the websites together. Click ‘Users’ and select ‘Add New’. Enter UID of the delegate as username, and his / her HKU email address (UID@hku.hk for staff and UID@connect.hku.hk for student) in the email session. Select user ‘Role’ per your requirement. The delegate can then login the WordPress maintenance site via HKU portal without extra password.
Install and customize theme
Before kick-off the website creation, users have to decide the best theme for the website. There are lots of free theme and chargeable premium theme available for selection.
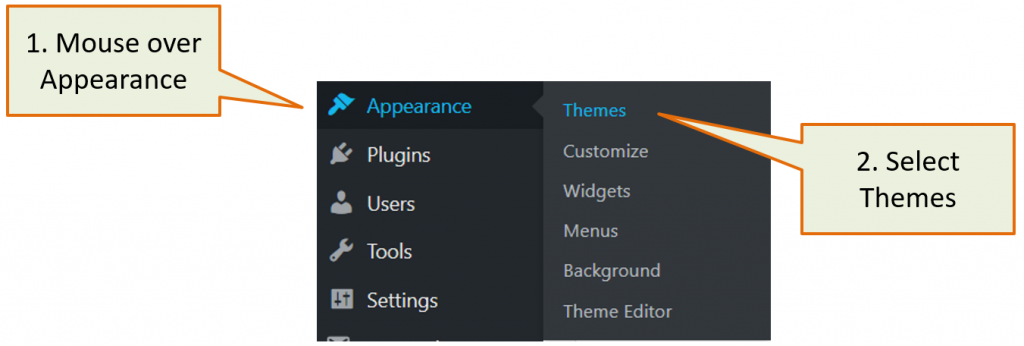
Users can choose a theme inside the dashboard by clicking “Appearance” and then select themes; or users can go online and search for a favorable WordPress theme, download the zip file and install inside to WordPress dashboard.
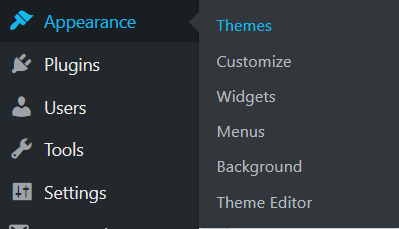
Now let’s go to the appearance and then click on themes.
Now you can see these nine themes are pre-installed with this WordPress instance.
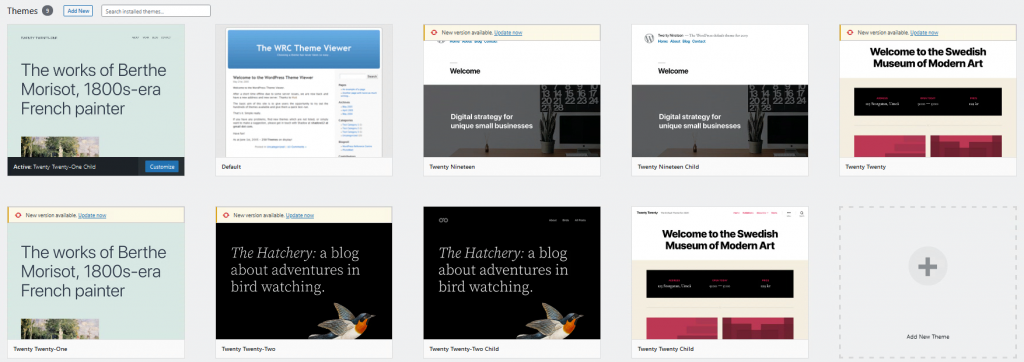
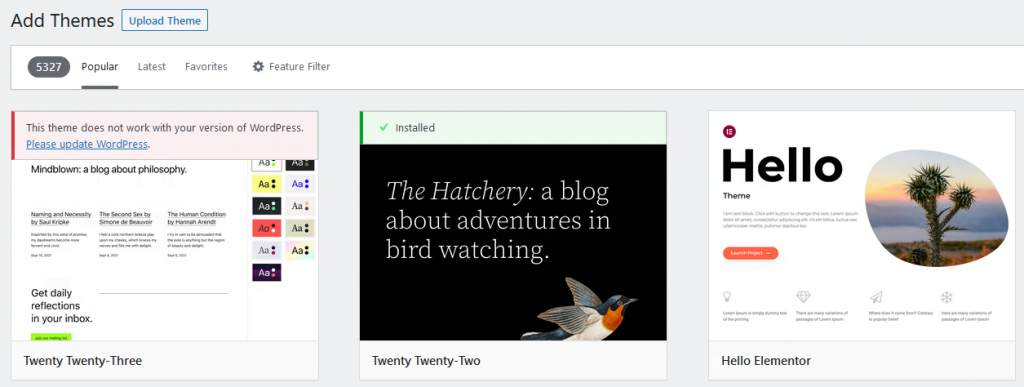
In order to install a new theme, click on “Add New” button in the top bar, you can see the featured popular latest, the favorite and the feature filled. You can choose “Popular” theme; You can choose “Latest”; or you can choose any kind of theme you want it.

Or you can click “Upload Theme” to upload your owned theme.
Create your Posts / Pages
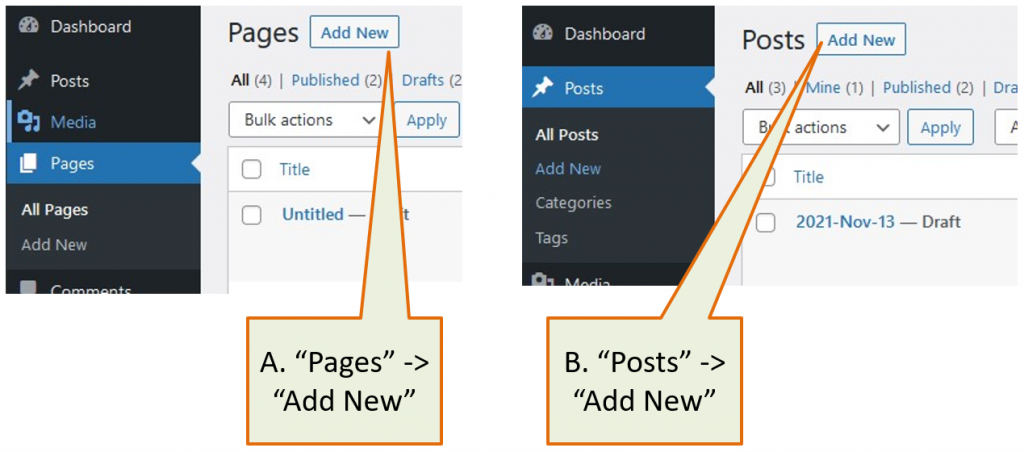
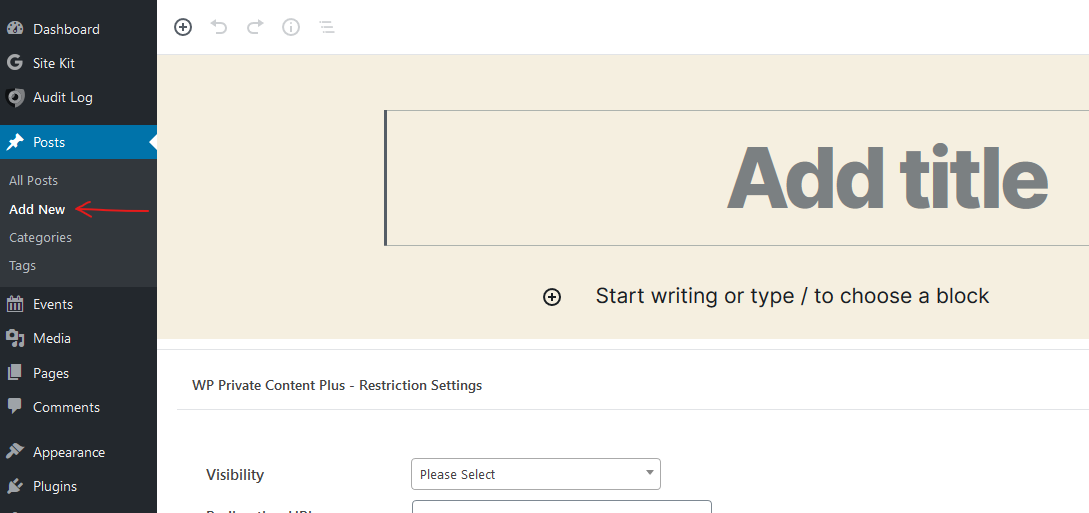
To start creating Posts / Pages, click “Add New” button.
Posts
Users can then enter the title of the posts and write a description with less than 300 words.
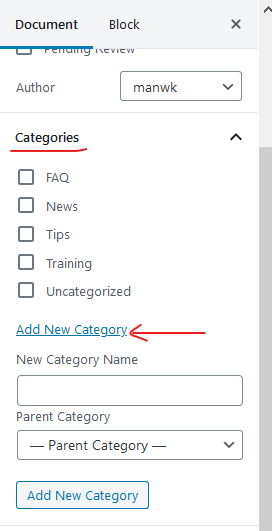
After users enter the title of new category and click “Add New Category”, the post will then go under the newly created category.
Users are then able to add new tag(s) in Tags session to facilitate keywords searching of respective post.
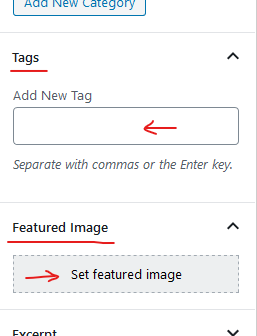
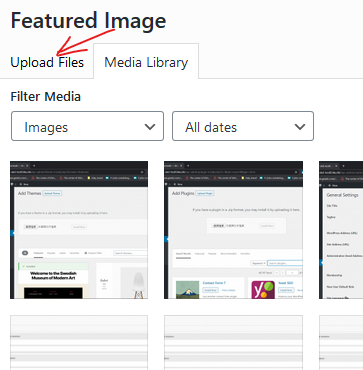
To add featured image to new post, users have to click “Upload Files”, select the file to upload, click “Set featured image”, “replace image” and then press “Publish”.
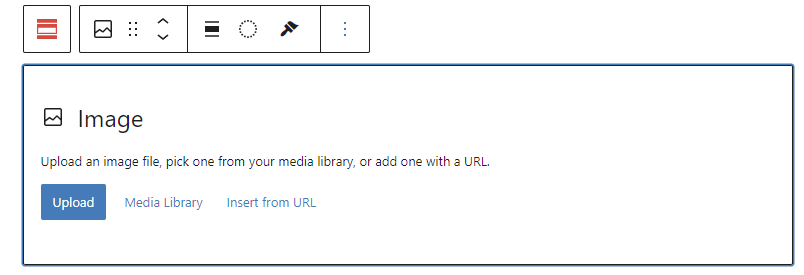
Or mouse over to ” + Add block ” and click it, then click on “Upload” to insert your image / media file; Or click on ” Media Library” to retrieve your pre-loaded image or media.
Finally, just click “Publish” to finish your editing.

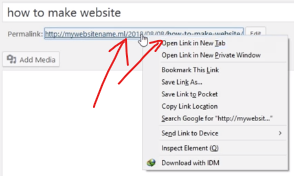
To preview the post, mouse over the given link and select “Open Link in New Tab”. After finishing posts’ creation, users are able to create pages.
Pages
Click “Add New” to add new “Page”.
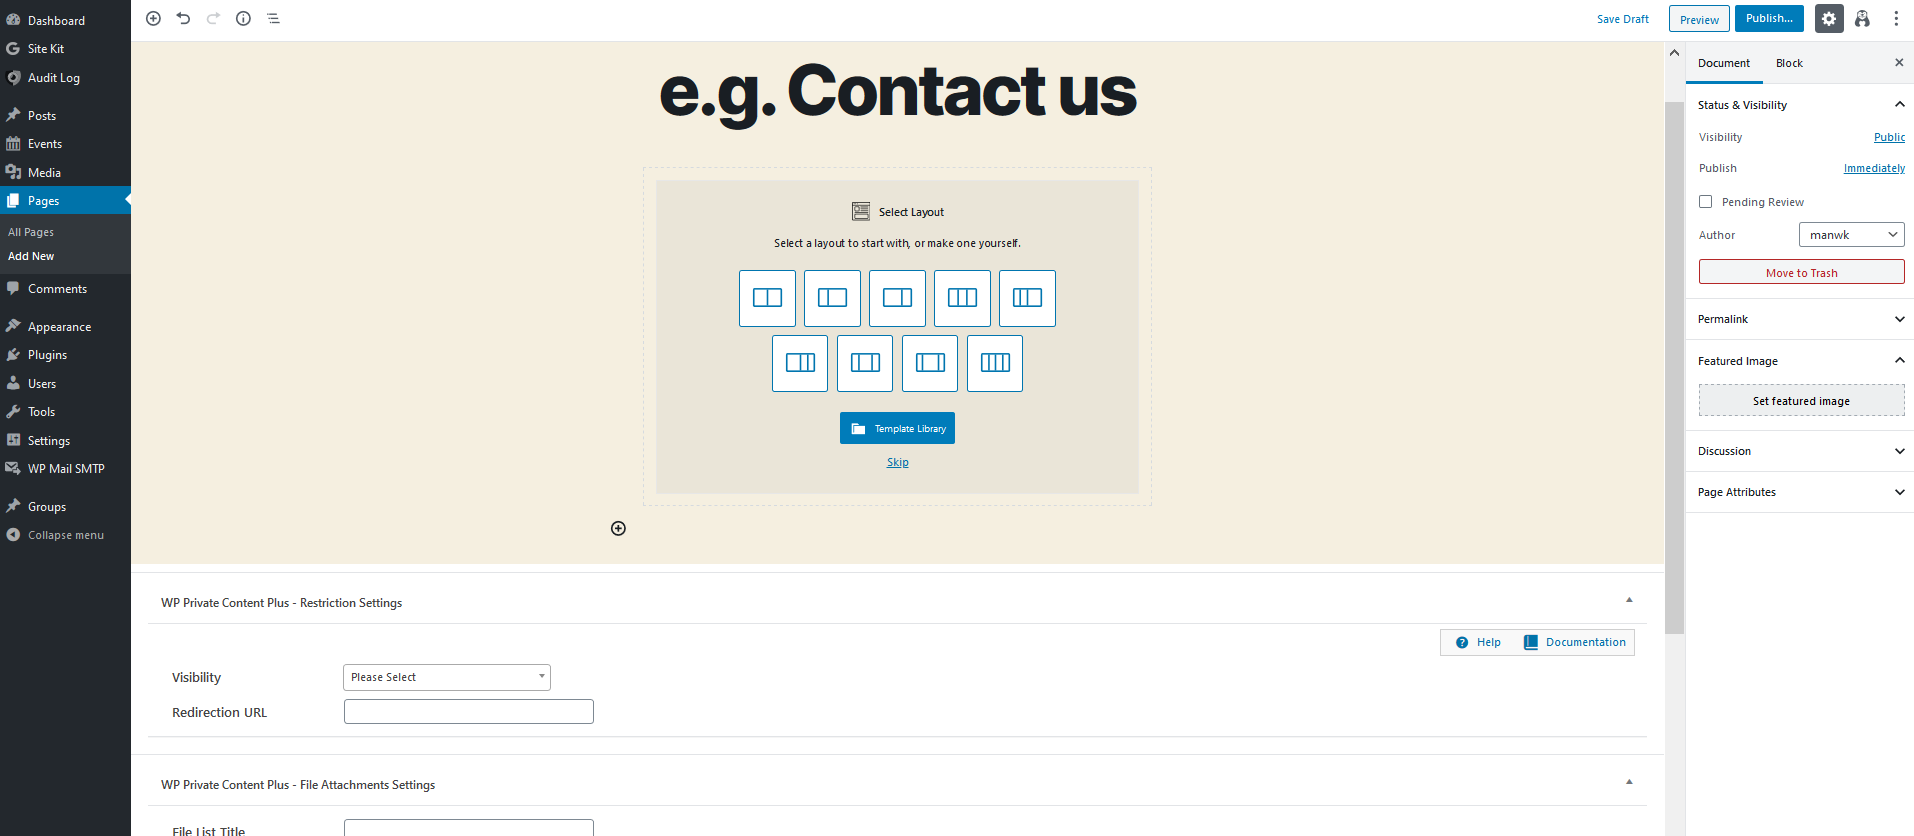
Enter the page name and click “Publish”, a new page will be then be created.
Create Category (Optional)
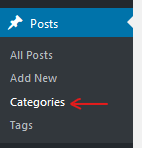
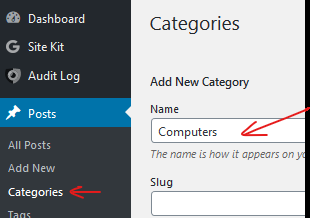
You can create a category. Go to “Posts” and click on “Categories”, here you can create a new category with something like computers.
Click on “Add New Category” if you remember when we add a new post, we created a WordPress category
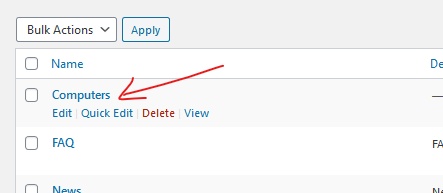
You can see right here, and we also created a “Computers” category. If you have a service / item or post that relates to computer, you can add your post, your product into this category.
Create widgets (Optional)
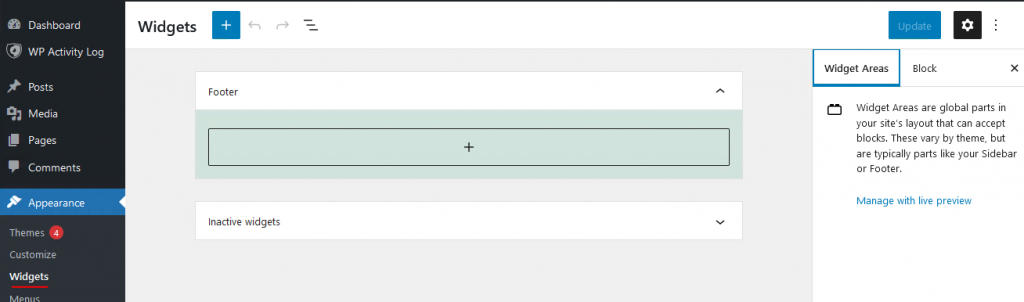
To add widget, users can go to “Appearance” and click on “Widgets” and add any widgets under the chosen theme.
Users are able to drag-and-drop any widget to any section of the website.
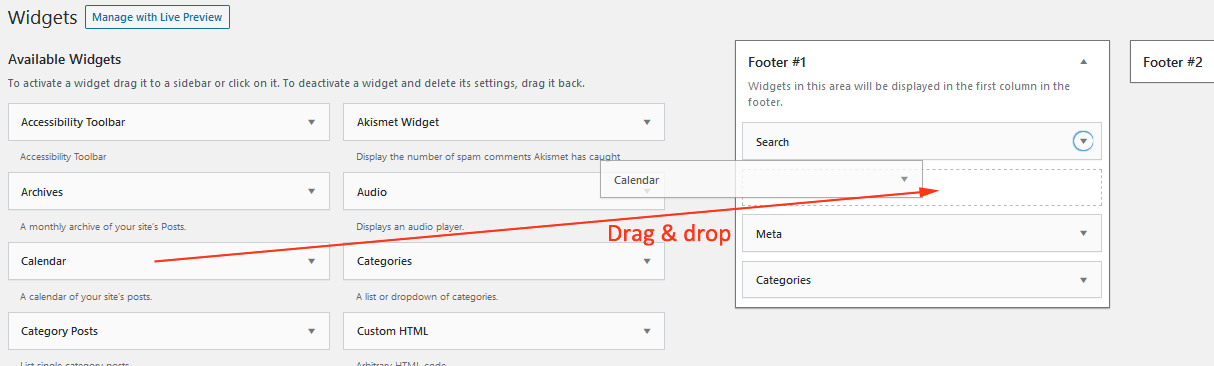
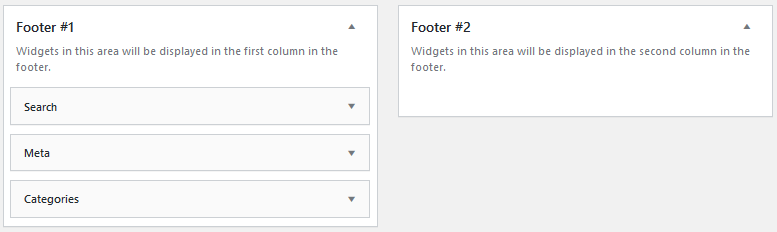
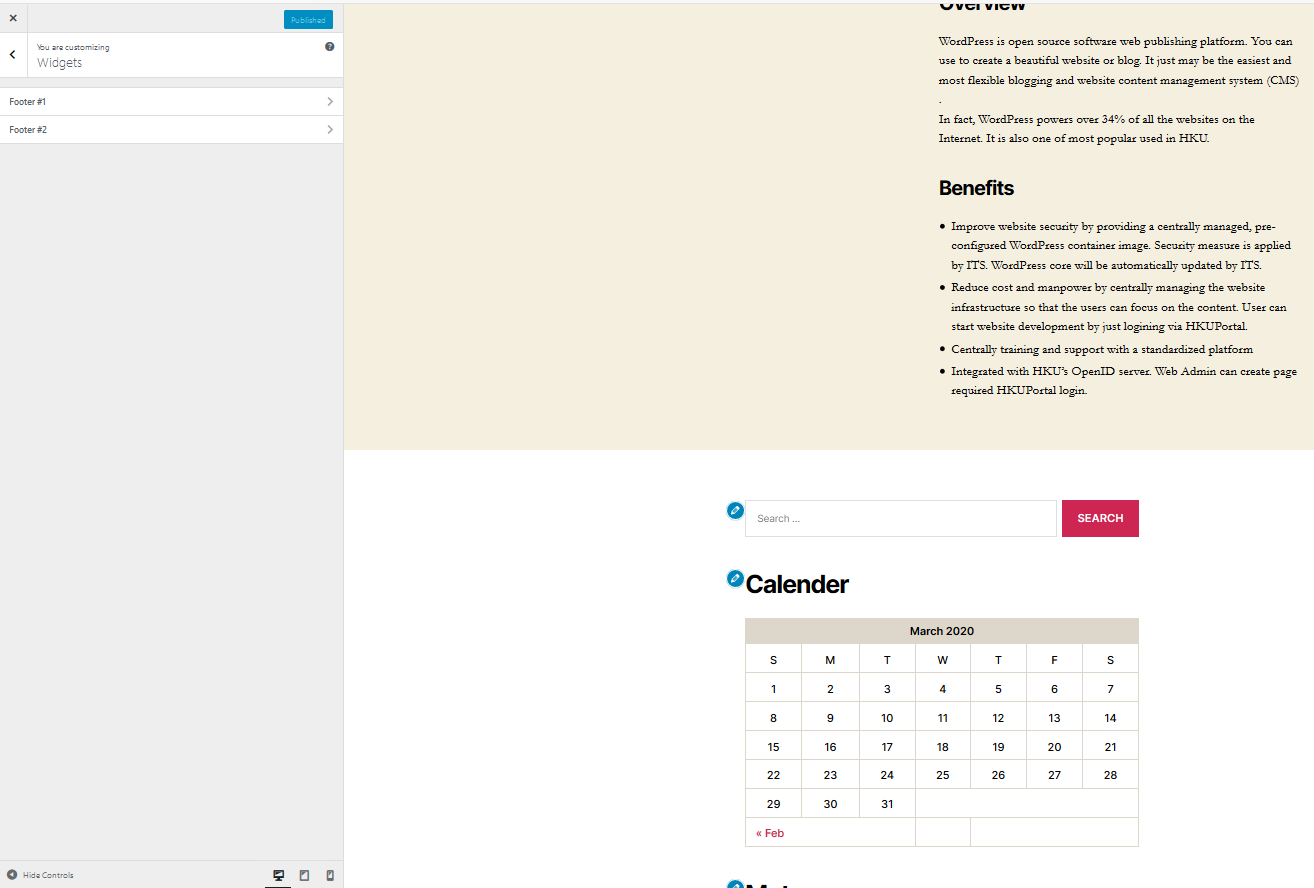
There is pre-set footer 1 and 2 in the webpage, users can add any widgets into these 2 sessions and press “publish”. To preview the footer, user can click “Manage with Live Preview” during widgets amendments.
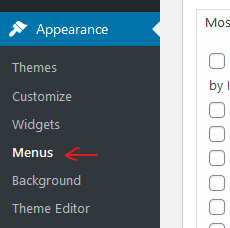
Create Menus (Using WordPress Theme Twenty Twenty-One)
To create Menu, please click “Menus”.
Enter any name or number in the cell of Menu Name, and then click “Save Menu”.
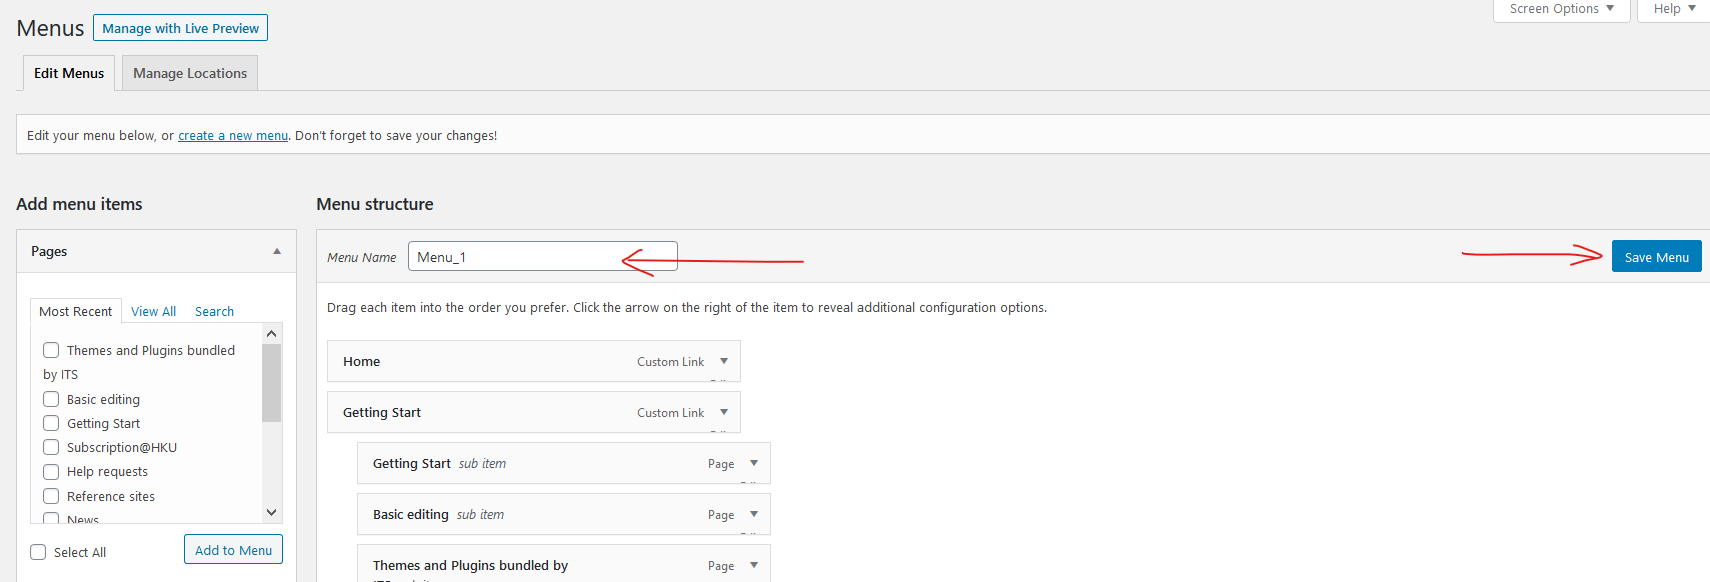
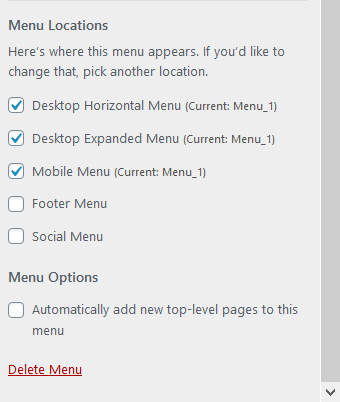
Select the position of this new created menu according to the chosen theme. In the current theme, only three menus – Desktop Horizontal Menu, Desktop Expanded Menu and Mobile Menu are available. After choosing the menu position, please click “Save Menu”.

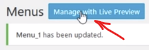
To live-preview the menu creation processes, users can click the button “Manage with Live Preview”.
Go into the created menu, click “+” icon to add item to menu.
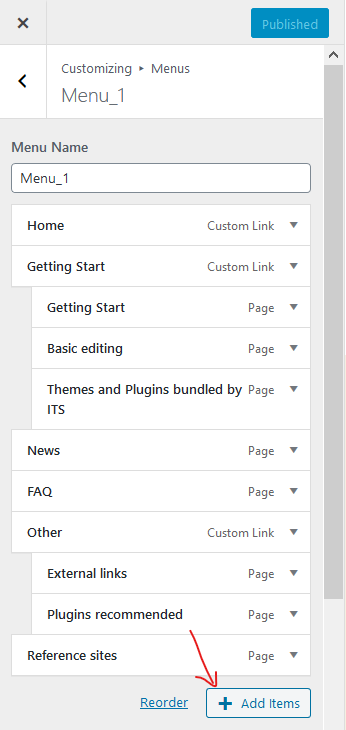
Once you’re done, click “Publish” and the menu will then be appeared on your front page.
Create Menus (Using WordPress Theme Twenty Twenty-Two)
WordPress theme “Twenty Twenty-Two” does not have a menu system included into the theme’s section anymore. So, user needs to access the page template and work custom menu from there.
Create a new template:
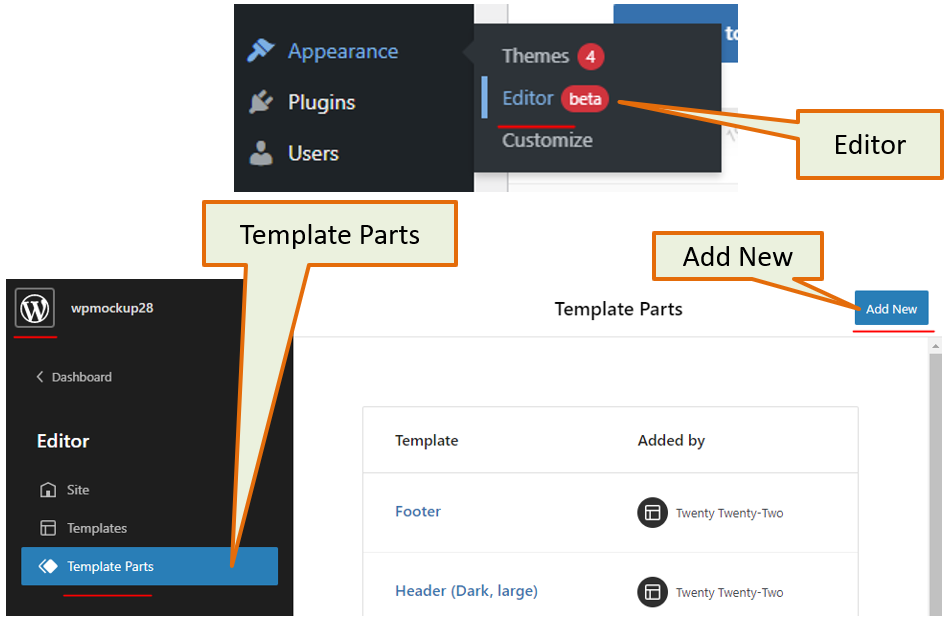
1 Go to themes, then
2 Go to editor, then
3 Go to the “Template Parts” page
4 Click “Add New”
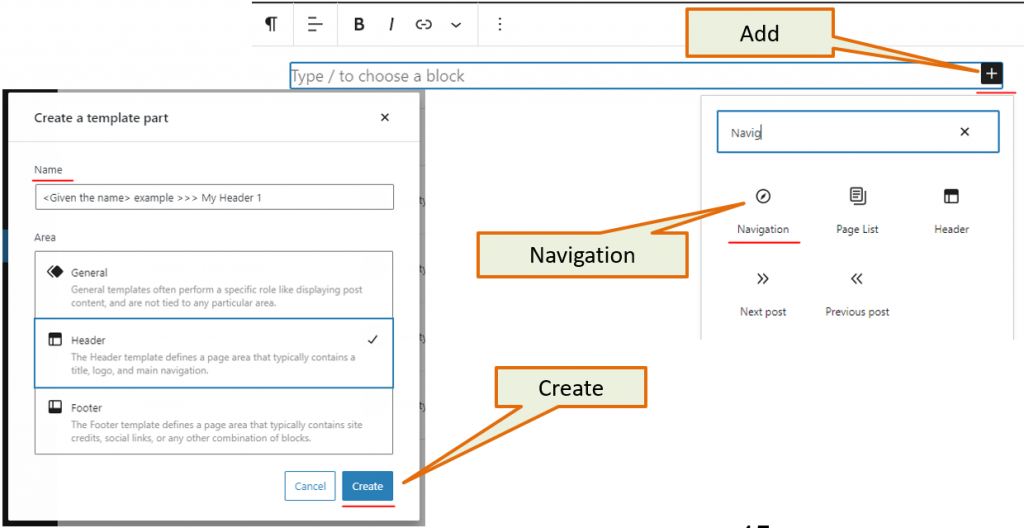
After created a “New template part” and given a name, then:
5 Create a new custom template, press “Create”
6 Press “+ Add” and “Navigation”
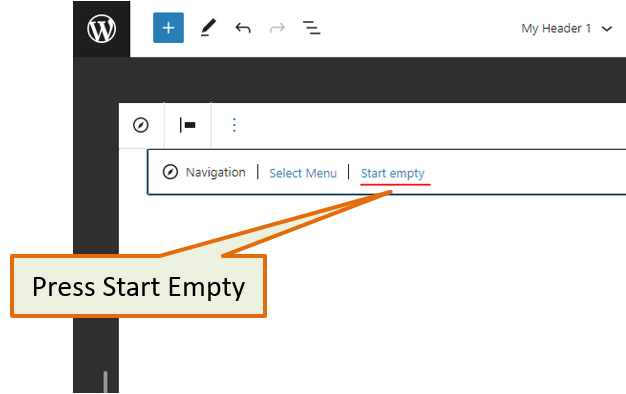
7 Press “Start empty”
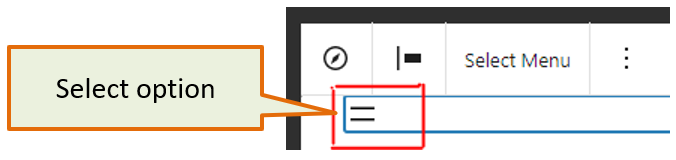
Then, add template part to a page:
8 Press “Add +” the menu items to add blocks
9 Two adding options: “Home / Page” OR “Home / URL” format
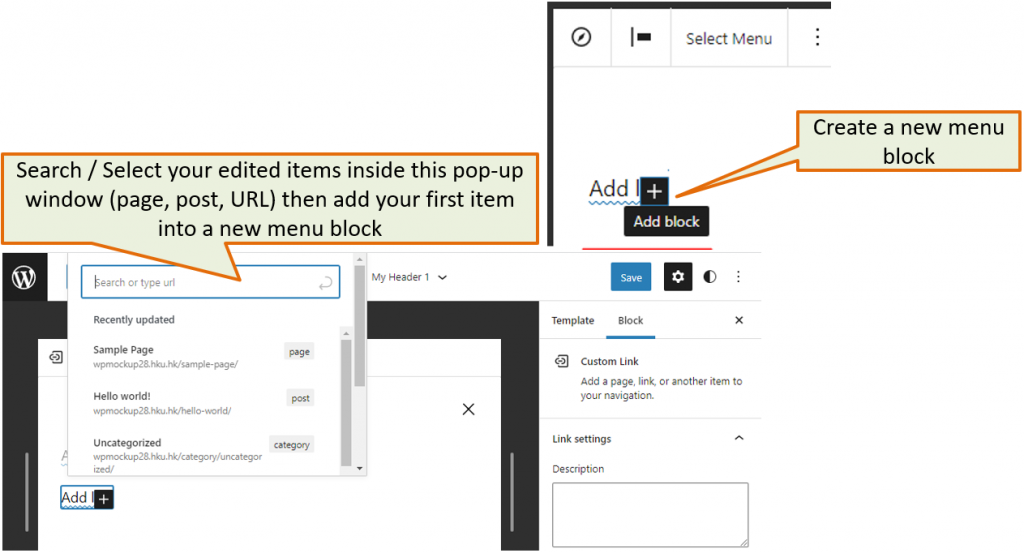
10 Select the preloaded pages from web and linking it to this custom block in this case
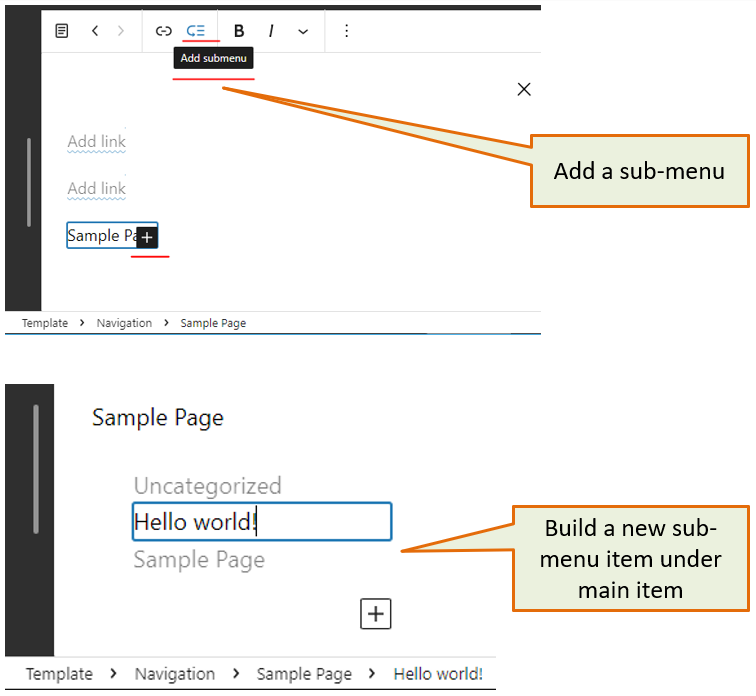
11 Add the sub-menu items by link / page as well
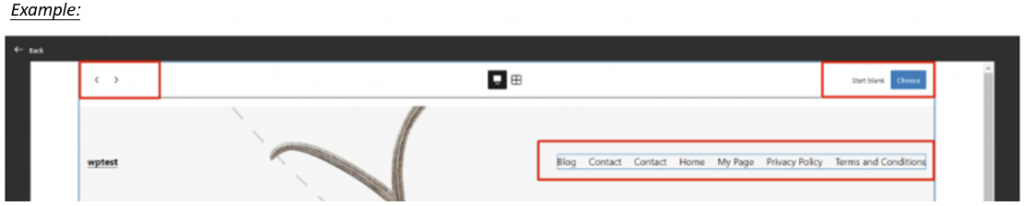
Once finished your custom editing, save this template.
Template done!
If you want to add this custom template to your page
1 Select “page” panel on the right side
2 Check “Template: <Your Page>”
3 Click “Edit”
Drag-and-Drop “Template Part” from the left side panel to your page
4 Select “Choose existing” in Template Part
5 Add the custom template part in a header template part of the page You can save this editing finally and publish you page.
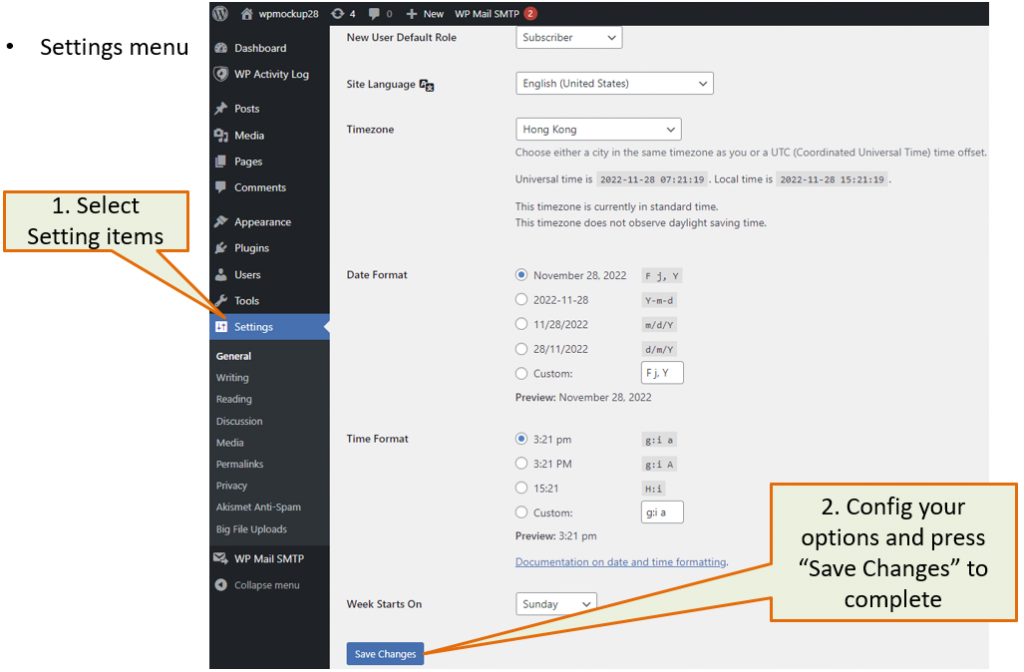
Configure WordPress settings.
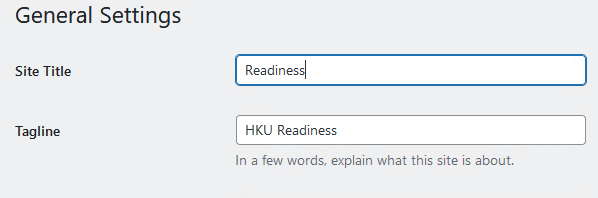
To adjust the setting of WordPress website, click the “Settings” button at the side bar. Go through all of the items under Settings and update the Site Title and Tagline under General Settings.